Mistakes EVERYONE Makes when Putting Away their Fisher Equipment for the Summer

We’re going to talk about the common mistakes that many people make when putting away their Fisher plows and spreaders for the summer.
Whether you’re a professional snowplow operator or a homeowner with a Fisher plow, it’s essential to properly store your equipment to keep it in good condition and ready for the next winter season. We’ll cover important topics such as cleaning your plow and spreader before storage, inspecting and maintaining hydraulic components, properly storing the plow frame and blade, and much more.
By the end of this video, you’ll have a clear understanding of what to do to ensure that your Fisher plow is in top shape for the next snow season. If you’re tired of dealing with rusted components or damaged belts when you take out your plow after a long summer of storage, this video is for you. Don’t make the same mistakes as everyone else.
Video Transcript
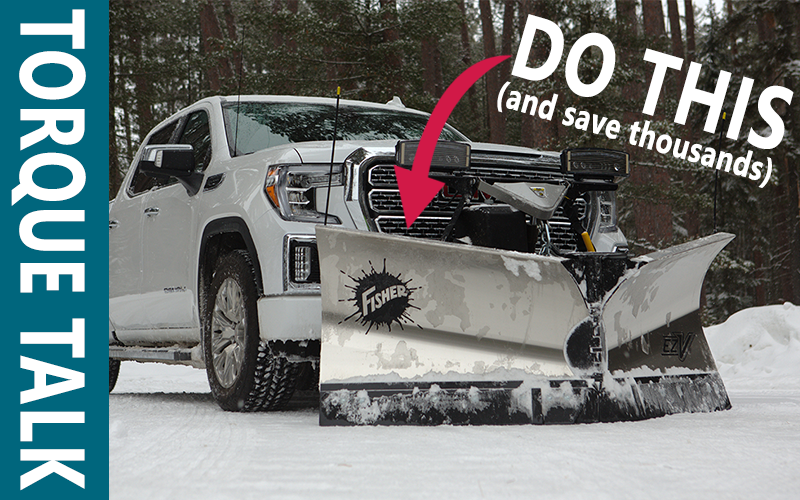
Hello, David Hamlin, Equipment Sales. And I’m here today for a short video to show you ways that you can properly store your Fisher Plow and your Fisher Hopper spreader. By doing this and watching this video, you’ll save thousands of dollars in repairs.
When it comes to your fish, your plow at the end of the season, you want to make sure that when you do take it off, you stored in a place where it’s off the grass. Grass can cause a lot of problems with the corrosion of metal and also what you want to do at that point. You want to make sure that the the cylinders are, you know, the rods are collapsed so that you have the rods little the rods showing as possible. Because if you have the rods out there and they’re all extended out, more chance of corrosion happening. What you want to do at that point, get the old garden hose out, give it a good cleaning, and make sure that all the rust are not rust, but all the salt debris and everything is off it. And then once that’s done, you can take dielectric grease and you can do all the plow plugs. There should be two or three coming off the plow, depending on what system you have with Fisher.
Now, on the plow, you’ll have these protective covers on the boot as well. Make sure that you’re not missing any of these. They’re not very expensive. They come in a two pack. Available at any parts, location, purchaser, tracks, location. And make sure you put them on. Because after you put the dielectric grease, you want to make sure that you keep that locked in from the outside, whether maybe some of the paint is come off early in the season and corrosion has already started. In the case of the headgear, it’s all black. So you know, some sandpaper and clean that up a bit, a little shot of the, you know, good rust preventative black paint or good for that. And on the blade if you have a yellow powder coat painted blade, well then we have the genuine Fisher paint that’ll look after that and it’ll match up pretty good. So again, just repair that area that has some rust on it. You know, you’re going to have to apply a couple different layers to get it up because the powder coat is fairly thick.
The other thing that you can do is look at the plow and any grease points that are on there. You want to make sure that you use a good EP grease to apply to those grease points. You’ll notice down at the bottom in particular, there’s the pins where they engage and disengage. It’s very important that you take and keep those clean and apply Fleetsaver Flexi-Film to it. When you go to hook it up in the fall, there’s no issue.
Okay, So that takes care of the plow. Now let’s move on to the spreader. So the spreader, we’re talking hopper spreaders here. We’re talking the poly caster and we’re talking the stainless steel steel-caster. Both of those plows use the same conveyor chain and the same driving gear sprockets. And they’re very similar that way. So what you’d want to do is take the spreader off. You want to make sure it’s clean, thoroughly cleaned. Now, one way to do this is just before you do take it off, you could have someone’s spray down with the chain running. So if the chain is running and you’re just spraying water down this way on it, it’ll allow that to go through and clean out everything in that tray underneath. When you do take it off on the poorly caster, you can stand the poorly caster on its end and then you can spray that down as well underneath and get that tray nice and clean underneath.
Once that is done, then what you would do is you would take the Fleetsaver Flexi-Film. And what I would do is just make sure you go up and down that chain and then across the chain as well for your links that attach the chains together, make sure everything there is all well coated in this because this won’t wash off, it won’t evaporate. It’ll stay on there. It’ll keep that chain nice and flexible so it doesn’t seize up. A lot of guys, if they don’t do anything, what’ll happen is they go and they put the spreader back on and they press the start button and the chain will break. So that’s important. Chains are about probably $1,000 now. So very important procedure. And the other thing that you’ll do is at the driven shaft and the un-driven shaft, you’ve got sprockets. So make sure the sprockets are also well lubricated. Make sure with the pillow block bearings, use a good EP grease and you grease those pillow block bearings and that’ll keep that all good there in that drive chain area.
That’s about all we have today. But if you have any questions, be sure to reach out to one of our staff at our many locations in Atlanta, Canada, or visit the Fisher website. They have a lot of good information there on maintenance, both post, pre-season, and in-season. So there’s a lot that can be picked up that way as well. So I hope you enjoyed listening to the short video and have a great summer.

